We are excited to to share with you our Final Sale of the year with a Blog SALE.
The pieces below are one-of-kind pieces and pieces we have only offered at the holiday craft shows.
Since there is a very limited number of items, this sale will be a first come first served. If you see something(s) you love, just email us at
sales@swirlydesigns.com
and we’ll let you know if they’re still available.
Items often gets scooped up quickly, feel free to include a second choice in case your first choice is unavailable. After we confirm the item(s) you requested, we’ll send you a Paypal invoice via email for payment.
Gnomes Ornaments $25 ea.
A. SOLD OUT
B. Greens
C. SOLD OUT
D. Brown/Green
E. Red/Yellow
F. Red/Metallic
G. Gray/Yellow
H. SOLD OUT
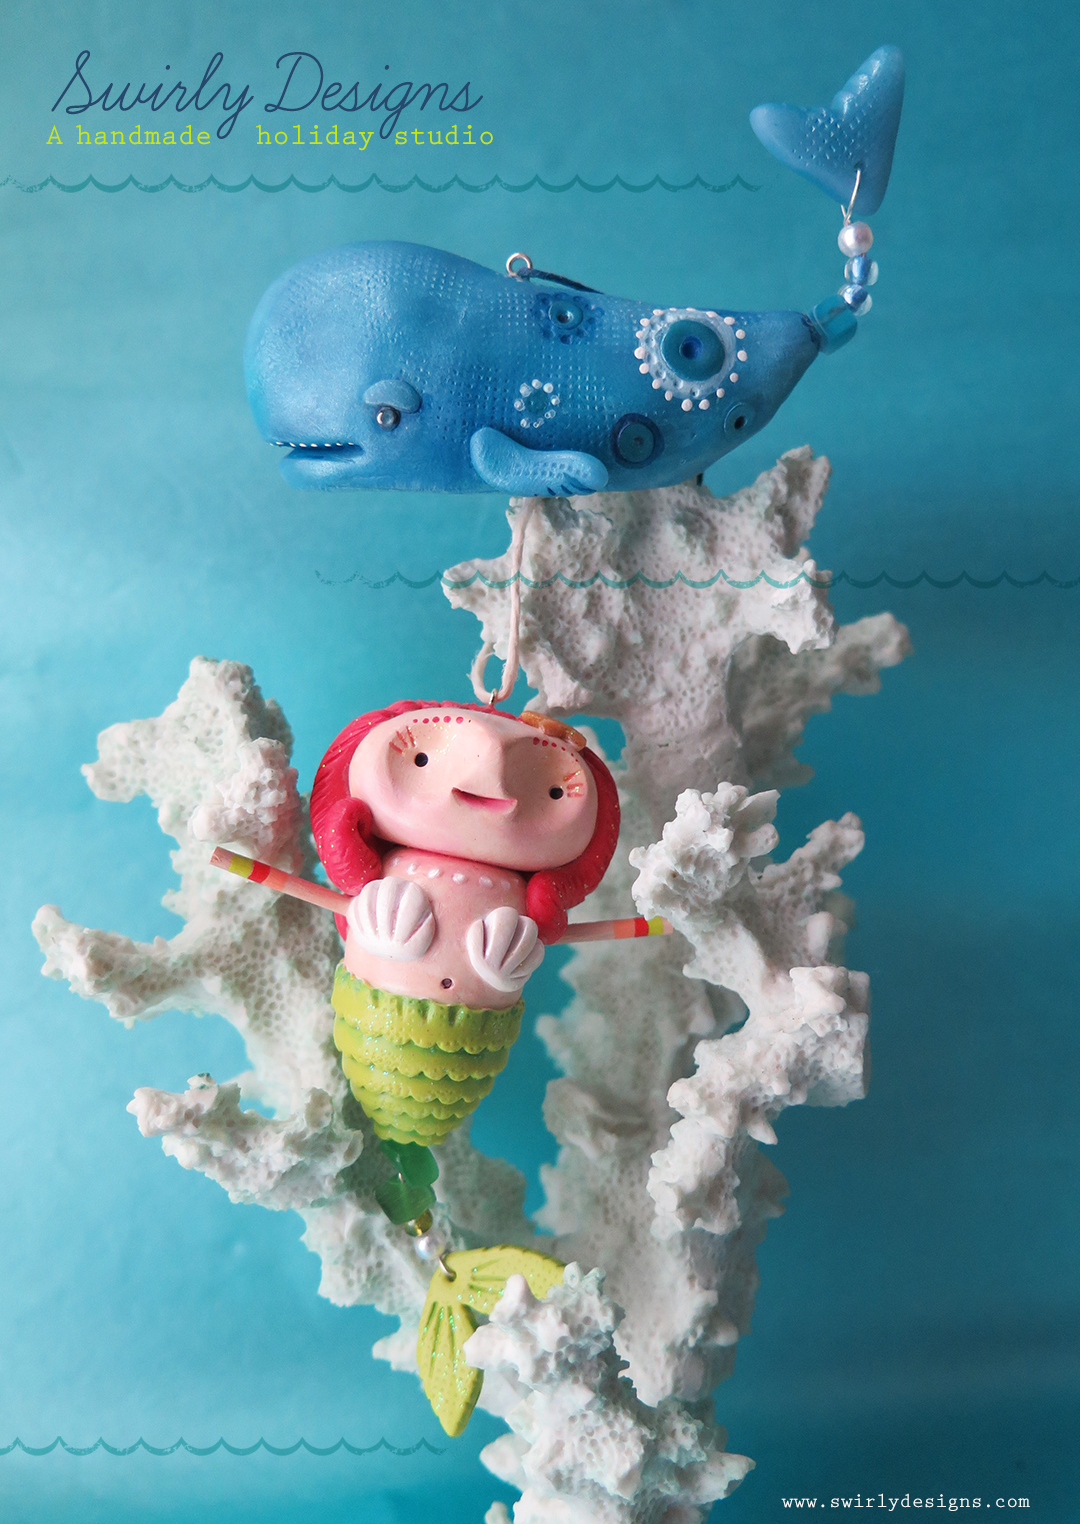
Whale Ornaments
A. SOLD OUT
B. SOLD OUT
C. SOLD OUT
D. SOLD OUT
E. SOLD OUT
Figurines $28 ea.
A. SOLD OUT
B. Green Santa Pine arch
C. SOLD OUT
D. SOLD OUT
Penguin Ornaments $18 ea.
A. SOLD OUT
B. SOLD OUT
C. SOLD OUT
D. SOLD OUT
E. SOLD OUT
F. SOLD OUT
G. SOLD OUT
H. SOLD OUT
Photo Holder Spools/Ornaments $25 ea.
A. SOLD
B. Noel Snowman
C. Santa Text
D. Santa ho ho ho
E. SOLD
F. Santa Merry Christmas
G. SOLD
Snowman Snowball SOLD OUT
Elf Ornament $25 ea.
Love Stump Ornament $25 ea.
Click to enlarge image